Showing posts with label clothing. Show all posts

Thursday, January 11, 2018

Mustard yellow dress - Refashion

I follow this lady on Instagram named Sarah Tyau. I came across her late this summer. (I think it was about the time she was gaining a ton of popularity, and was featured with PEOPLE). I really enjoy following her, seeing her photos, watching her stories, and reading her posts. She is funny, cute, somewhat cheesy, but overall very good and authentic. She became well known because of her 'refashioning' skills. She takes clothes that don't fit very well and sews them into something cute. I fell in love with the idea.

I grew up sewing and watching my mother sew. She even refashioned a few things, quite often, now that I think about it. However, after following this account I became reminded and inspired about refashioning. She really changed the way I look at clothes that I give away to Goodwill and also how I look at the clearance rack. I not only just think that I could add sleeves or length, but I pay attention to fabrics that I love, and becoming more brave in what I chop and re-sew. I have taken in a few dresses and skirts for my girls that I love the fabric or style of them, but that don't fit them right, or don't fit them yet and I want them to wear them now. ( little trick, I don't cut on some of these so that I can take the side seams and hem out easily and have the dress grow with them if I desire) (and sorry that was a confusing sentence, but a fairly important one).

In this dress that I want to show you I completely changed what the article of clothing was. Saved on buying fabric! Woot Woot. I wish I had a 'before' picture, but I don't. However, this mustard dress was a maxi skirt someone gave me as a hand me down that just never laid very well. However, I loved the color and didn't want to see it go to waste. (since I am pretty sure it wouldn't flatter anybody, it was a weird maxi skirt).

I cut the skirt completely. I cut my own pattern for a bell sleeve dress for Madison. I didn't even have to hem it and just used the original hem. It is not perfect, but it was fun, and I learned a lot about sewing with knits. I even crocheted a little collar for her to hide the imperfections in the neck. ;)
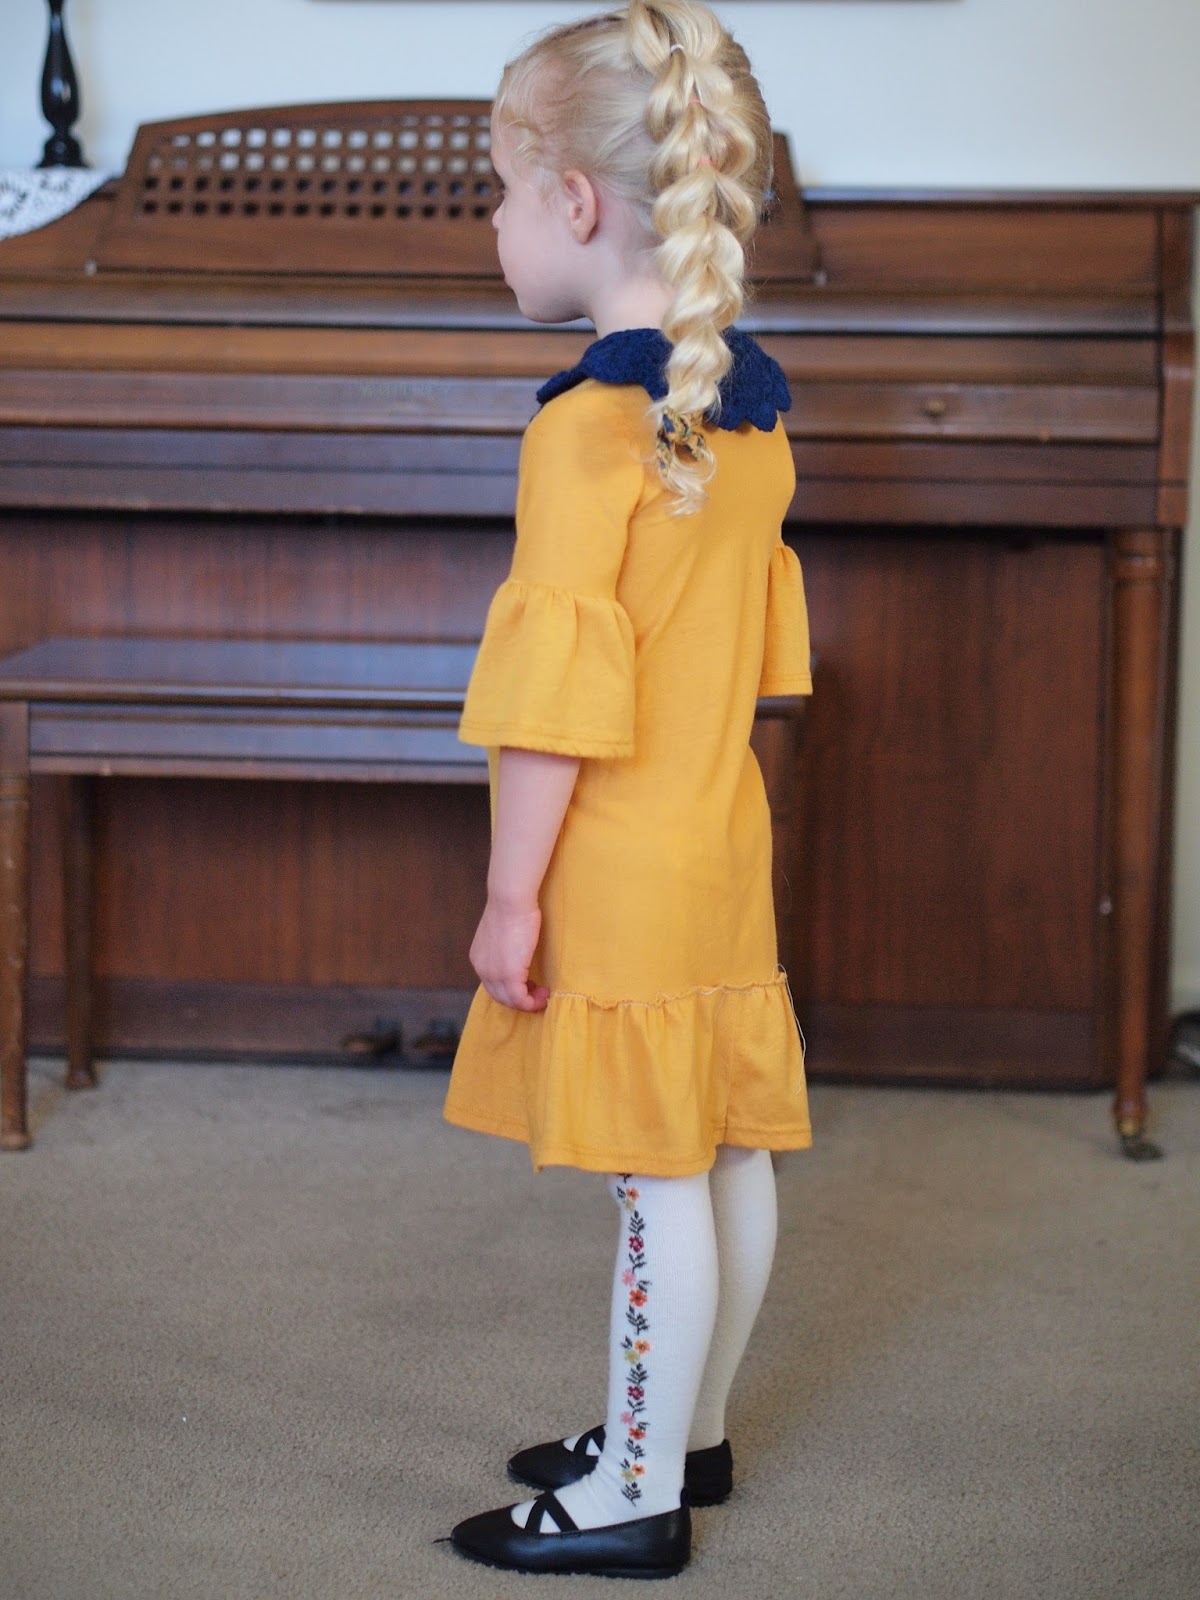


I even crocheted a cowl as an option as well. ( she loved having a choice)

Wednesday, January 3, 2018

Christmas Dresses

In an ideal world, I would love to post my Christmas photos before Christmas is over. It NEVER happens. Oh well.

This year I made some cute little dresses for my girls to wear the month of December. I feel like I am the only mom that starts dressing her kids up like Christmas the first week of December, but I decided I don't care. I put a lot of effort in these dresses. They deserve to be worn at least 4 times. :) Plus I hope that they will fit to an extent for the next year.

I used an old dress I made for Madison 2 years ago for Jordyn. It is a little long so will hopefully last and be used next year! For Madison I made a simple red dress and then made a removable collar and sash to coordinate with little Jordyn's dress.

I waited and waited for a little bit of snow here in Iowa, but it didn't come before we left. AND... finding evergreen trees in Iowa is kind of hard. A Christmas background is hard when you just have dead trunks and branches. We found a couple of trees at the church and didn't even have to dress up in our dresses for a reason other then church. WIN


Tuesday, November 14, 2017

Fall Dresses

I have had a recent obsession with dressing my little girls this fall. I love the current trends and am definitely capitalizing on the fact that hand sewn clothes are in. I LOVE to sew. I love these fall dresses that I made for them and they cooperated pretty well for the camera. I had to share

 I used an old dress I made for Madi the year before, took down the hem and added the long sleeves with the flutter. First long sleeves I have done. It was fun and not to hard! She hasn't complained so I think it must be pretty comfortable.
For Jordyn's dress I had some extra fabric that I sewed the dress with. I added the round ruffle collar that I have seen lately. After it was done, I decided it needed something black. I really didn't want a sash or a flower, because I wanted it to go with the theme of vintage from Madison's dress. Embroidery was the answer. I got some help from a friend and completed my first embroidery project. It has a lot of mistakes, but I am still pretty proud. Enjoy the pictures of my goofy girls.


Anybody else find that loving their kids is a lot easier when they are dressed cute!


Tuesday, May 30, 2017

Flutter Sleeve Shirt


Isn't the cutest. I love it.

Madison is in desperate need of a few shirts for Summer outings. I found this pattern online for the shirt that easily could be made into a dress. I was very tempted to make the dress, but my girls have more then enough dresses for the summer.

I bought this fabric ages ago. (about 6 years ago) and had extra that I kept from another project. I had all the materials on hand for this shirt. The buttons, white fabric for the lining, interfacing, and then of course, the extra fabric. It may have been cuter to maybe use some darker buttons, but hey, I didn't have to spend money and more importantly I didn't have to make a run to Joanns! Seriously, probably the worst errand to take little children on.


I haven't sewn flutter sleeves before, but I LOVE them and they are actually way easier to sew then normal sleeves! Win win! The tutorial was fairly easy to follow and the shirt looks very finished! I used a French seam on the back of the shirt that contains the only raw edge. All other raw edges are lined. I have never done buttons before, believe it or not, and I was a tad nervous. I actually really like the buttons, and it is super easy. I just don't know any of the measuring tricks to make sure it is all evenly spaced. There has to be a few tips and tricks right? I measured pretty meticulously a couple of times and one button is still slightly off. :)

What a cute shirt for a cute girl. I did bribe her with a small treat for these pictures..... this girl.

Friday, July 10, 2015

No Sew Fabric Bows

I don't want to be the household that people stress to come over too. Meaning: their child is allowed to play with anything out and reachable, they are free to eat their snacks in the living room, change their diapers anywhere, and of course nurse at their convenience. I tend to tell people when they come over with their babies and toddlers that "There are no rules at this house!" 

However, I do take that back... With Madison, I am pretty consistent with one rule: "We always wear a bow!" Unless we are camping, swimming, or sleeping, Madi has worn a bow basically every day since the day she was born. I started early in hopes she wouldn't refuse to wear them when she could pull them out. So far, it has been quite successful.

Madison with her bows throughout these 7 1/2 months!

Before Madison was born, I received a gift of a ton of fabric bows and a few different sizes of headbands that I could clip them on to. I have loved this gift and decided to make a set for a friend who is having a baby girl. We have talked about how she wants this baby to be willing to wear bows and she is going to be better about putting them on consistently. (This is her second little girl).


These bows are so easy! I made eleven of them during one afternoon nap a couple of days ago. They take hardly any fabric and I didn't even have to take out my sewing machine.

Materials:
Fabric (Any cute scraps you have)
Alligator clips
Glue gun
Iron
Scissors

Start with desired fabric. Different sizes make different sizes of bows (obviously). If you want a bow that measures 4"x 2" you want to start with fabric that measure 8"x4".

Fold fabric in half towards horizontal center. Glue. (You don't need a lot)
Fold in half again towards vertical center. Glue.

Next, make the middle wrap. Take about an inch and half wide fabric by about 4 inches. You will trim it in the end. Fold both ends towards center and glue.


Take bow and scrunch the middle together with fingers. Apply glue in between creases.
Wrap and glue middle around bow.


Make sure you can clip the alligator clip in the back.

For the headband, I just use elastic (the softer headband kind), glued the ends together, and then created a loop for the bow to go through.

Yay for bows!!


Sunday, July 28, 2013

Today I was a Princess

Today was church. In the summer I love church. With school out, usually there are not to many events or activities for me to dress up for. Church is the perfect opportunity for me to wear my favorite clothes, put on make-up, wear flashy high heals, and do my hair. I like to think that I dress up for the sole fact of looking my best to worship, but lets get real, this is not the only reason. I love to turn heads.
I decided that today I wanted to look like a princess. (Please don't make fun of my childish fantasies.) I wore a frilly, white chiffon skirt. ( A friend at church called it "extra feminine", I felt this was a weird compliment. Probably because she didn't know what to say, she was so overwhelmed with the obvious little girl look). I also wore a lacy teal green blue shirt, sparkly earrings, and silver high heels to show of my pink and white zebra pedicured toes.
I planned to braid my hair around my head to give myself an innocent milkmaid, or renaissance princess look, but Jordan stopped me mid hairdo and decided he liked the braid on the side.


The flower just added more frill. I might have went a little overboard today.

This may be the vainest post  I have possible posted.


Thursday, May 2, 2013

A little dress

I took a sewing class this semester and loved it. This is one of the projects that I made.


 It is a little toddler's little dress. Imagine a little red head in this dress. Bring on the little girls!
 

Tuesday, December 11, 2012

Twinner Tuesday

Its Twinner Tuesday again!! This week we wore our Oklahoma Thunder t-shirts!


Tuesday, December 4, 2012

Twinner Tuesday

We have this new little tradition to spice up our lives. We decided to wear matching t-shirts every Tuesday. This week was our Ironman/Lazyman t-shirt we earned.